
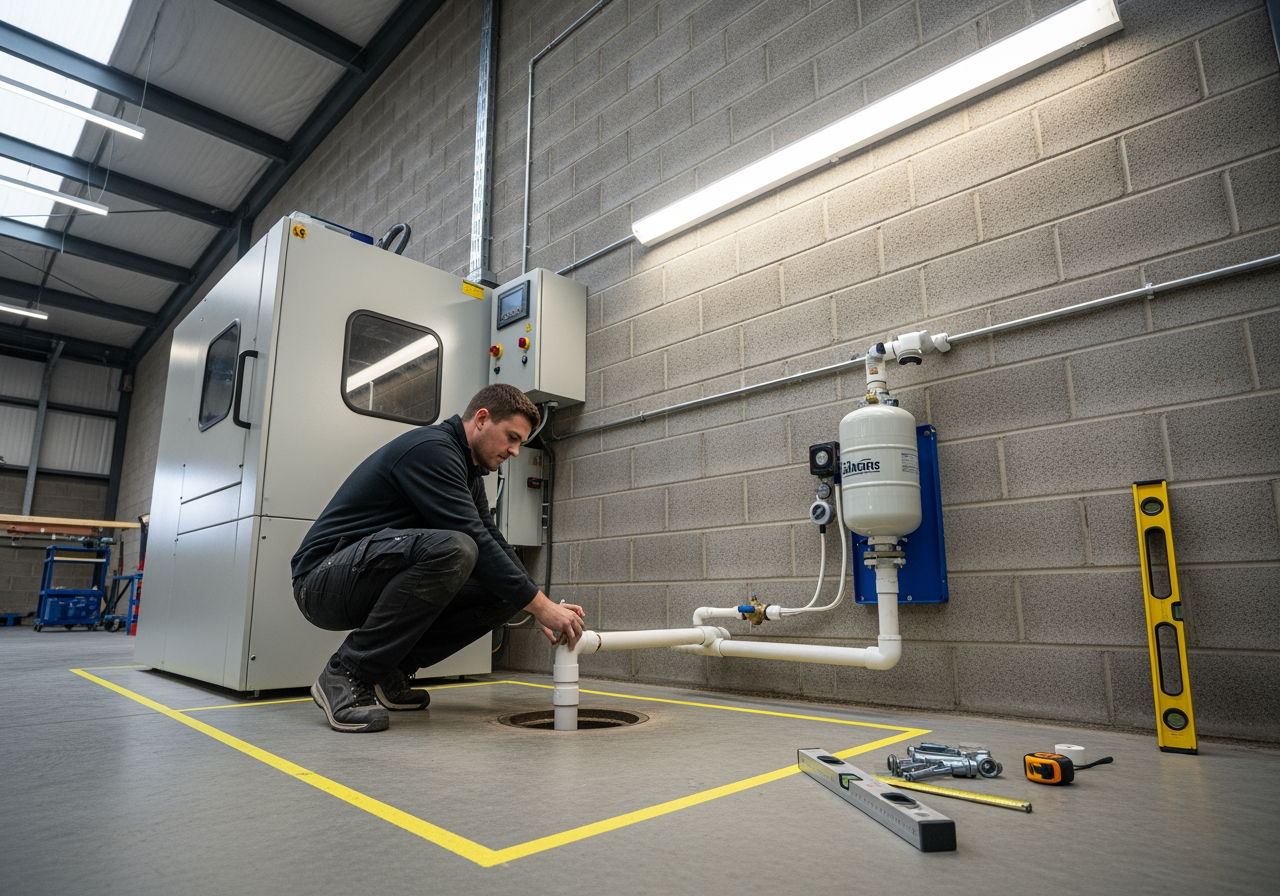
Installing a parts washer takes more planning than most workshop managers expect. Get the setup wrong, and you face drainage problems, safety hazards, and wasted floor space. Get it right, and your workshop runs cleaner, safer, and more efficiently from day one.
Most managers underestimate the full scope of parts washer installation requirements. A heavy-duty machine needs proper floor space, drainage systems, electrical supply, and ventilation. Skip any of these, and you will either damage the machine or create serious workplace hazards.
This guide covers the practical installation requirements for parts washers. You will learn how to assess your floor space and plan drainage system specifications. It also covers what Australian standards you need to meet before your machine arrives.
Floor Space Requirements for Different Parts Washer Sizes
Workshop floor space requirements go beyond the machine’s footprint. You need clearance for loading parts, opening doors, and accessing the machine for maintenance.
Manual Parts Washers for Small Workshops
Manual parts washers typically measure 900mm wide by 600mm deep. Allow at least 1.5 metres of clearance in front for workers to stand and load parts safely. Add 500mm behind the machine for hose connections and drainage access.
Total space needed: approximately 2 square metres. That is roughly the same as a standard workshop workbench.
Workshop floor space requirements for manual washers are manageable even in tight workshops. The compact footprint makes them a practical starting point for small operations with limited floor area.
Heavy Duty Models and Industrial Workshop Clearances
Standard heavy duty parts washers measure around 1,800mm long by 1,200mm wide by 1,600mm high. The sliding door needs 600mm clearance on the opening side. Maintenance access requires 800mm clearance at the back for pump and heating element service.
Total space needed: approximately 6 square metres. Most workshops allocate a corner position with wall protection behind the unit.
Extra heavy duty parts washers measure approximately 2,400mm by 1,500mm by 1,800mm. The chamber door requires 1 metre clearance for forklift loading of heavy components. Rear access needs 1 metre for major maintenance work.
Total space needed: approximately 9 square metres. Mining workshops typically position these near the parts room for efficient workflow.
Super Heavy Duty and Hot Tank Space Demands
The largest systems reach 3,000mm by 2,000mm by 2,200mm. Loading requires 1.5 metres clearance for overhead cranes or forklifts. Super heavy duty parts washers often need dedicated floor areas with reinforced concrete pads.
Total space needed: approximately 15 square metres minimum. Major mining operations often build dedicated wash bays around these units.
Hot tanks have similar spatial demands. They also require additional overhead clearance for crane access when loading heavy engine blocks and transmission components.
Concrete Floor and Load-Bearing Specifications
Parts washers are heavy – especially when filled with water and loaded with dirty components. Parts washer floor loading puts significant stress on your workshop floor. It needs to handle the weight safely before installation begins.
Weight Calculations and Floor Condition Checks
A heavy duty parts washer weighs approximately 400kg empty. Add 400 litres of water (400kg) plus 200kg of parts, and you are looking at 1,000kg total. That is one tonne concentrated in a 2 square metre area.
Parts washer floor loading on standard workshop concrete (100mm thick, 20MPa strength) is manageable for most models. But older buildings with cracked or damaged floors need structural inspection before installation. Do not assume the floor is adequate – check it first.
The floor must be level within 10mm over the machine’s footprint. Uneven floors cause drainage problems and door alignment issues. Water pools in low spots instead of draining properly.
The surface needs to be smooth enough for the machine to sit flush. Rough or broken concrete creates gaps under the base where water collects and causes rust.
Reinforcement Requirements for Heavy Systems
Extra heavy duty parts washers and hot tanks weighing over 1,500kg when loaded may need reinforced floor pads. This typically means 150mm thick concrete with steel mesh reinforcement.
Understanding parts washer floor loading early prevents costly floor repairs after installation. Mining sites installing multiple large washers often pour a dedicated concrete pad rated for 2 tonnes per square metre. This prevents floor damage over years of continuous heavy use.
Drainage System Specifications and Plumbing Connections
Poor drainage causes more installation problems than any other factor. Parts washers discharge dirty water containing oil, grease, and metal particles. Your drainage system specifications must account for proper wastewater handling.
Direct Drainage Requirements and Oil Water Separator Installation
Most parts washers discharge through a 40mm outlet at the base. This connects to your workshop’s drainage system via standard PVC pipe. The drain line needs a minimum 1:60 fall to prevent blockages. That is 1 metre drop per 60 metres of horizontal run.
Never drain directly into stormwater systems. Oil and chemicals contaminate waterways and breach environmental regulations. All discharge must go through proper wastewater treatment systems.
Oil water separator installation is mandatory under Australian environmental regulations for industrial parts washing discharge. These units separate oils and solids from water before it enters the sewer. A typical oil water separator installation for a single parts washer costs $800-$2,000 installed.
The separator sits between the machine and the main drain. Maintenance involves cleaning it every 3-6 months depending on usage volume.
Hotwash Australia has over 40 years of experience helping Australian workshops meet parts washer installation requirements. Drainage and wastewater compliance is one of the most common areas where workshops need expert guidance before getting started.
Drainage system specifications for larger mining and industrial operations are more demanding. Workshops running multiple washers need commercial-grade separators rated for higher flow volumes. These systems cost $5,000-$15,000 but handle continuous discharge from several machines simultaneously.
Drainage Pit Configuration and Water Supply Connections
Some workshops install a drainage pit beneath the parts washer. This 600mm deep pit collects discharge and houses the oil water separator below floor level. A sump pump then moves treated water to the main drain.
This setup works well for workshops where the main drain sits higher than the machine’s discharge outlet. It also makes separator maintenance easier – just lift the pit cover rather than digging up buried pipes.
Parts washers need both hot and cold water supply. Most connect to standard 20mm workshop plumbing with 3/4 inch BSP fittings. Water pressure should be 300-500 kPa – standard mains pressure in most Australian workshops. Some larger systems use 25mm supply lines for faster tank filling.
Electrical Supply and Workshop Ventilation for Parts Washers
Parts washers draw significant power for heating elements and pumps. Undersized electrical supply causes tripped breakers and poor cleaning performance.
Power Requirements by Machine Size
Power requirements by system size:
- Manual washers with electric pumps: 2.4kW single-phase (10 amp circuit)
- Standard heavy duty models: 12-15kW three-phase (20-25 amp circuit)
- Extra heavy duty systems: 18-24kW three-phase (32-40 amp circuit)
- Super heavy duty systems: 30-45kW three-phase (50-70 amp circuit)
Most industrial parts washers need three-phase power. Small workshops without three-phase supply can use manual or compact electric washers on single-phase circuits. Upgrading to automated spray washers means calling a licensed electrician to install three-phase supply.
Each parts washer needs its own dedicated circuit with appropriate circuit breaker protection. RCD (residual current device) protection is mandatory in wet workshop environments. The isolation switch should be within 2 metres of the machine for quick shutdown during maintenance.
Ventilation Planning and Condensation Control
Workshop ventilation parts washer planning is critical and frequently overlooked. Parts washers generate steam and vapours during operation. Proper ventilation prevents moisture buildup and maintains safe air quality.
Workshops with good natural airflow – open roller doors, high ceilings, and windows – usually provide adequate ventilation for standard models. Enclosed workshops need mechanical ventilation systems. Without air movement, steam condenses on walls, ceilings, and equipment, causing rust and mould.
Workshop ventilation parts washer extraction hoods are especially important in food processing facilities. They capture steam and discharge it outside, preventing moisture from contaminating food preparation areas.
A parts washer running at 80°C releases approximately 5-10 litres of water vapour per hour. Without adequate ventilation, this moisture condenses on cold surfaces. Ceilings develop water stains, and steel equipment rusts faster. Install the machine near existing ventilation or extraction points wherever possible.
Pre-Installation Checklist and Regulatory Compliance
Proper preparation prevents installation delays and costly modifications after the machine arrives.
Site Preparation Steps Before Machine Delivery
Start by confirming the machine’s dimensions including door swing clearance. Measure your available floor space including loading and maintenance access zones. Check ceiling height for top-loading systems or overhead crane clearance.
Verify the delivery access route. Can a forklift or pallet jack move the machine from the loading dock to the installation site? Measure all doorways, corridors, and tight turns along the route.
Confirm three-phase power availability and capacity at your switchboard. Check that the main switchboard has spare circuit breaker positions. Verify the electrical cable can reach the planned installation location.
Locate the nearest drainage connection point. Trace the drain line to confirm it connects to sewer – not stormwater. Identify where your oil water separator installation will occur.
Clean and inspect the floor surface. Repair cracks, holes, or damaged areas before the machine arrives. Mark the machine’s footprint with tape or chalk, then verify clearances for doors and maintenance access.
Australian Standards and Compliance Requirements
Check local council requirements for wastewater discharge. Some areas require trade waste agreements for industrial discharge before you begin operating.
Verify the installation meets Australian Standards for electrical safety (AS/NZS 3000) and plumbing (AS/NZS 3500). Most commercial parts washer installations require licensed electricians and plumbers.
Confirm workplace health and safety requirements. The installation should not create trip hazards, block emergency exits, or interfere with fire equipment access.
Three parts washer installation requirements cause the most problems when skipped. These are insufficient drainage fall, undersized electrical supply, and missing oil water separator installation. Each shortcut creates a bigger and more expensive problem down the track.
Conclusion
Solid planning separates parts washers that run reliably for years from those that cause constant problems. Workshop floor space requirements, drainage system specifications, electrical supply, and ventilation are essential infrastructure. They are not optional extras.
Most installation problems cost far more to fix after the machine arrives. Proper upfront planning prevents every one of them.
To discuss your parts washer installation requirements and get detailed specifications for your workshop, contact our parts washer specialists or email us at sales@hotwash.com.au.

Leave A Comment