
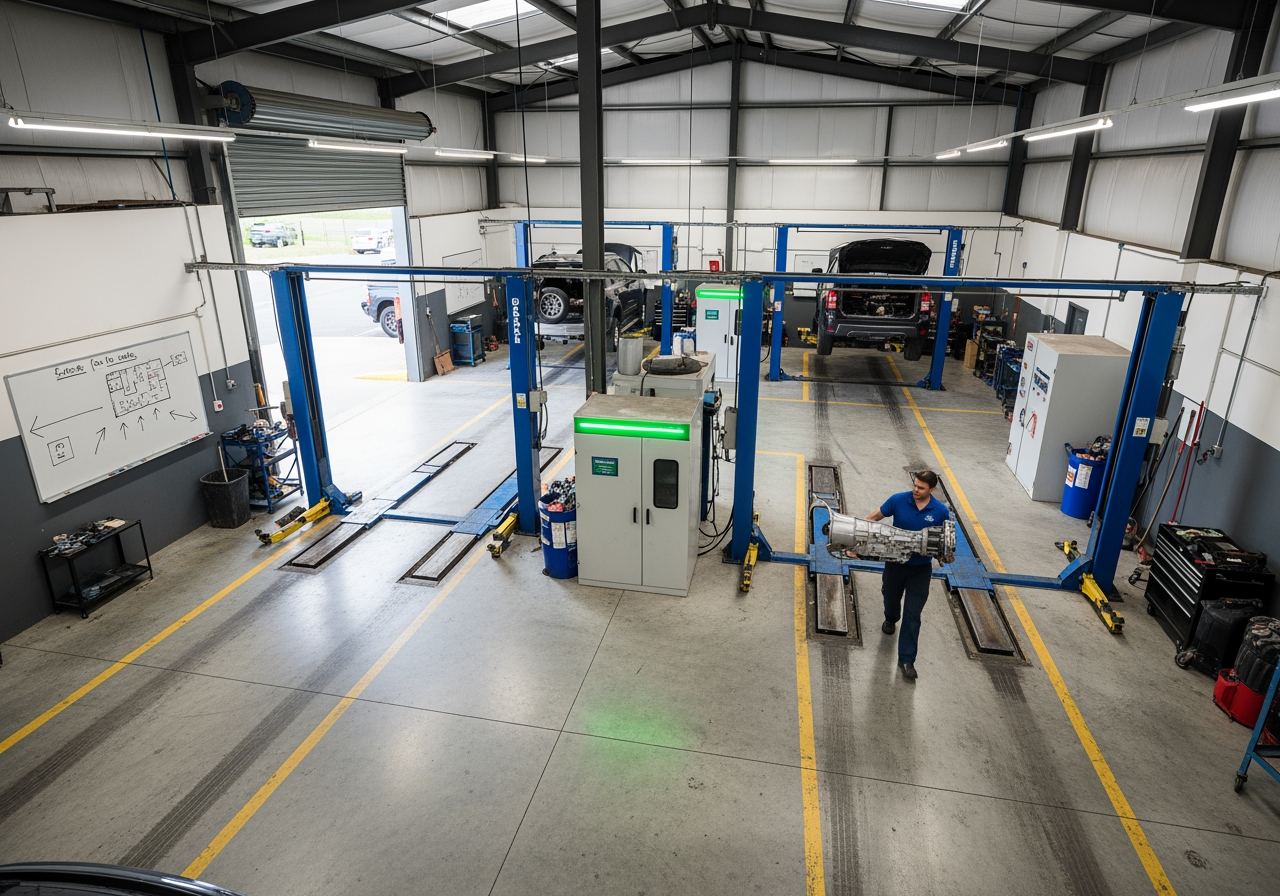
Workshop efficiency dies in the gaps between workstations. A mechanic walks 50 metres to the parts washer, waits for another worker to finish, then carries dripping components back across the floor. That is 15 minutes lost on a task that should take three.
Multiply that across a six-bay workshop running 50 jobs per week, and you have burned 12.5 hours of productive labour every single week.
This guide explains how to approach heavy duty parts washer positioning to get the most from your equipment. You will learn how to map your workflow, calculate optimal placement, and decide between centralised and distributed washer strategies to maximise workshop workflow efficiency.
Why Parts Washer Location Affects Workshop Productivity
Most workshops position their parts washers wherever there is available space – usually shoved against a back wall or tucked in a corner. The logic seems sound: keep the messy work away from customer-facing areas and consolidate cleaning in one spot.
That logic costs Australian workshops thousands in lost productivity every year.
The Hidden Cost of Poor Positioning
When a heavy duty parts washer sits 40 metres from the work bays, mechanics face a choice. They can make multiple trips carrying dirty components – wasting time. Or they can batch all cleaning until the end – creating bottlenecks. Neither option supports efficient workshop workflow efficiency.
The real cost shows up in three ways:
Walking time: A mechanic earning $45 per hour who walks 80 metres round-trip six times per day wastes 30 minutes weekly just moving. Across a four-person team, that is over 100 hours annually.
Waiting time: When one washer serves six bays, queues form during peak periods. Jobs stall whilst workers wait for access.
Safety risks: Carrying oily, heavy components across busy workshop floors increases slip hazards. The further the distance, the greater the risk.
Poor workshop layout optimisation always has a price. You just do not always see it on the invoice.
How Workflow Follows the Path of Least Resistance
Workshop layout optimisation starts with understanding human behaviour. When cleaning equipment sits in an inconvenient location, workers either waste time accessing it or skip proper cleaning altogether. Neither outcome serves the business.
Equipment positioning strategy should follow natural traffic patterns, not leftover space. The best parts washer location is one where cleaning feels like a natural step in the job – not a separate journey.
Mapping Workshop Flow Patterns Before Placing Equipment
Before bolting down a parts washer, map how work actually moves through your facility. Not how you think it should move – how it does move right now.
Identifying Hot Zones and Sequential Work Clusters
Spend a morning tracking one mechanic. Note where they collect parts, where they disassemble components, where cleaning is needed, and where reassembly happens. Watch for patterns.
Most workshops naturally group related tasks. Engine work happens in specific bays. Transmission rebuilds cluster together. Fabrication and welding occupy dedicated zones. Your equipment positioning strategy should place the parts washer adjacent to the highest-volume cleaning work – not equidistant from everything.
Every workshop has hot zones (main work bays, parts counter, tool cribs) and cold zones (storage, offices, amenities). Parts washer workflow integration works best when the machine sits in or near a hot zone. Placing a washer in a cold zone guarantees it becomes an inconvenient destination.
Material Flow Direction Through Your Facility
Components typically move in one direction through a workshop: from customer intake to diagnosis to disassembly to cleaning to reassembly to testing to collection. Your equipment positioning strategy should place the washer along this natural flow path – not perpendicular to it.
For automotive workshops, that usually means positioning washers between disassembly bays and reassembly benches. For mining maintenance facilities, it means placing manual parts washers or smaller equipment near secondary work areas, and heavy washers near the main component tear-down zone.
Track these patterns for three days minimum. You will spot the natural workflow channels – that is where cleaning equipment belongs.
Calculating Optimal Distance and Deciding on Equipment Strategy
Optimal Distance From Work Bays
The ideal distance between a work bay and parts washer depends on what you are cleaning and how often. But general principles apply across most workshop types.
For automotive workshops, position washers within 10-15 metres of primary work bays. At this distance, a mechanic carrying a cylinder head or transmission case makes the trip in under 30 seconds. The task feels integrated with the job.
Beyond 20 metres, workers start batching cleaning tasks or delegating them to apprentices. Both patterns slow job completion and reduce workshop workflow efficiency.
For mining and heavy industry, components are larger and heavier. Excavator buckets and haul truck parts cannot be hand-carried 50 metres. Heavy duty parts washer positioning in mining workshops must account for crane and forklift access. Super heavy duty parts washers in these facilities need to be positioned where forklifts and overhead cranes can move parts directly from tear-down benches without extra manual handling.
Run this calculation for your workshop: count how many times per day workers transport parts to the washer. Multiply by the round-trip distance. Multiply by your average hourly labour rate divided by 60. That is your daily cost of parts washer location. Multiply by 250 working days for your annual cost.
Centralised vs Distributed Washers for Multi-Bay Workshops
Workshops with six or more bays face a strategic choice: install one large-capacity washer centrally, or position multiple smaller units closer to different work zones. Centralised vs distributed washers is a common debate – and the right answer depends on your specific operation.
Centralised washer advantages: one extra heavy duty parts washer with large capacity handles high volumes efficiently. Initial capital cost is lower than buying multiple units. Maintenance is simpler – one machine, one set of filters, one heating element to monitor. This works well when all bays perform similar work.
Distributed washer advantages: two or three smaller washers positioned near specific work zones eliminate walking time and queuing. This approach suits workshops with specialised bays.
Centralised vs distributed washers come down to cost-benefit analysis. For a six-bay automotive workshop running 40 jobs weekly, distributed washers can save 8-12 hours of labour per week compared to a single central unit. At $45 per hour, that is $360-$540 weekly savings. That pays for a second washer within 12-18 months.
Hotwash Australia has deployed over 1,200 automatic parts washers across Australian workshops. The consistent finding: distributed placement suits specialised multi-bay operations, whilst centralised placement suits workshops where all bays do similar work.
Integrating Washers With Cranes, Forklifts, and Service Infrastructure
Crane Coverage and Forklift Traffic Patterns
Heavy component workshops – mining maintenance facilities, earthmoving repair shops, industrial equipment rebuilders – cannot position washers based on walking distance alone. Parts washer workflow integration in these facilities means integrating with mechanical handling.
If your workshop uses overhead cranes, map their coverage area. Position washers within crane reach of disassembly benches and reassembly stations. This eliminates double-handling – the crane lifts a loader bucket off the work bench, swings it into the washer, then lifts it out to the clean assembly bench.
Hot tanks are particularly suited to crane-fed workflows. Heavy engine blocks and transmission cases can be lowered directly into the heated solution without manual handling.
Forklifts follow predictable paths through workshops. Position washers just off the main forklift route – accessible but not obstructive. Never position a parts washer in the middle of a main thoroughfare. This creates congestion and safety hazards.
Drainage, Power, and Ventilation Constraints
Workshop layout optimisation must balance ideal workflow with practical service constraints. Drainage, power, and ventilation tell you where the washer can go – workflow principles tell you where it should go.
Extra heavy duty washers and larger systems discharge wastewater periodically. The washer needs floor drainage within 3-5 metres, ideally with a sediment trap.
Heavy duty washers require 15-20 kilowatt three-phase power. Running new three-phase circuits costs $2,000-$5,000 depending on distance from the switchboard. Before finalising heavy duty parts washer positioning, have an electrician confirm power availability at the planned location.
Standard workshop water pressure (300-500 kPa) suffices for most applications. Position washers within 10 metres of existing water points to avoid expensive pipe runs.
Always leave 1-2 metres clearance behind and beside the washer for maintenance access. Workshops that jam washers into tight corners create maintenance headaches. Simple filter changes become difficult, and major repairs require moving the entire machine.
Safety, Compliance, and Layout Examples
Preventing Slips, Spills, and Cross-Contamination
Parts washer workflow integration must always account for safety. Poor placement creates hazards. Smart placement prevents them.
Washers create wet areas – from loading dripping components, from opening chambers mid-cycle, from occasional leaks and spills. Position washers away from main pedestrian thoroughfares where office staff and customers walk.
Install non-slip flooring in a 2-3 metre radius around the washer. This gives workers stable footing even when the area is wet.
Never position washers where forklifts must reverse towards them. Reversing forklifts have limited visibility, and a parts washer does not survive a collision with a three-tonne machine.
Stainless steel parts washers used in food processing must be positioned in designated hygiene zones with separate access paths. Components should never travel through food production areas to reach the washer.
Real-World Layout Scenarios That Work
These examples show how workshop layout optimisation principles apply in practice.
Automotive workshop – six bays: Original layout had one washer at the rear, 30 metres from the front work bays. Mechanics batched cleaning tasks, creating bottlenecks. Adding a second heavy duty washer between bays three and four eliminated queuing, reduced walking time by 65%, and increased daily job completion from 11 to 14 jobs.
Mining equipment facility: Original layout had one super heavy duty washer positioned outside crane coverage. Workers used forklifts to transport excavator components, adding 15-20 minutes per cleaning cycle. Repositioning the washer 8 metres forward – under crane coverage – reduced cleaning cycle time from 45 minutes to 25 minutes and improved safety.
Small mechanical workshop – three bays: The washer sat in a dark corner with poor lighting and no ventilation. Workers avoided it during summer. Moving the washer 4 metres toward the roller door improved ventilation and light, increased washer usage by 35%, and reduced manual scrubbing time.
The common thread in every successful layout: parts washers positioned where workflow naturally demands them – not where leftover space happens to exist.
Browse the full parts washer range for machines suited to every workshop size and application, from compact benchtop units to super heavy duty industrial systems.
Conclusion
Heavy duty parts washer positioning is one of the highest-impact, lowest-cost improvements available to workshop managers. Workshop layout optimisation that places cleaning equipment along natural workflow paths saves hours of labour every week and reduces safety incidents.
Map your workflow first. Measure the true cost of your current layout. Then apply an equipment positioning strategy based on data – not convenience or leftover floor space.
For advice on the right parts washer layout for your workshop, contact our parts washer specialists or email us at sales@hotwash.com.au.

Leave A Comment